Apple Science Experiments
Become an apple scientist today!
Do apples float? Do all fruits float?
Experiment 1: Which fruits float?
If you've never bobbed for apples-you have missed out AND never witnessed a floating apple. Kids love to explore the properties of density with float & sink experiments. Apple season is the perfect time to explore this concept!

What you need:
apples-in a variety of sizes
assorted other available fruits
water
glass or transparent container (cylinder type works great to see floating and sinking clearly)

What to do-
Ask kids to sort fruit according to what they think will sink vs float. Ask them to explain their reasoning.
2. Let the children drop in the fruit.
3. Observe and record the results!
(Were there any surprises?)

STEM Learning Extension:
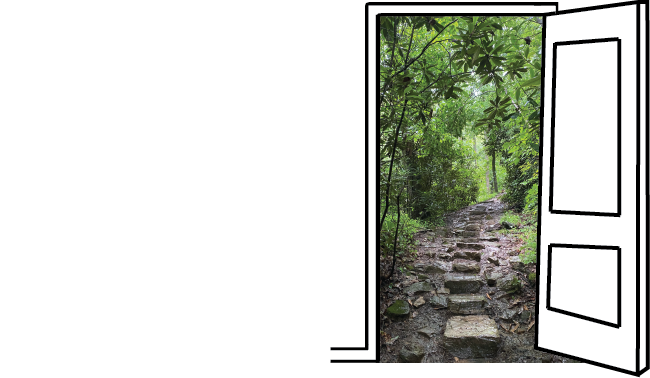
Apple Boats (nature style)-
Give the children the freedom to think about how they can create a boat from a fruit that they now know floats and other natural materials! Let them sketch it, create it. and test it! Celebrate with the kids!
For children that need more structure:
Cut an apple in half-does it still float? Use these apple chucks to create apple boats
Find a small, sturdy thin stick and poke it into the apple
Find a fallen leaf as a sail
Float your apple boats in a tub of water, puddle, local pond-all your construction materials are natural and can be composted!
Have you noticed how apples turn brown after you cut them?
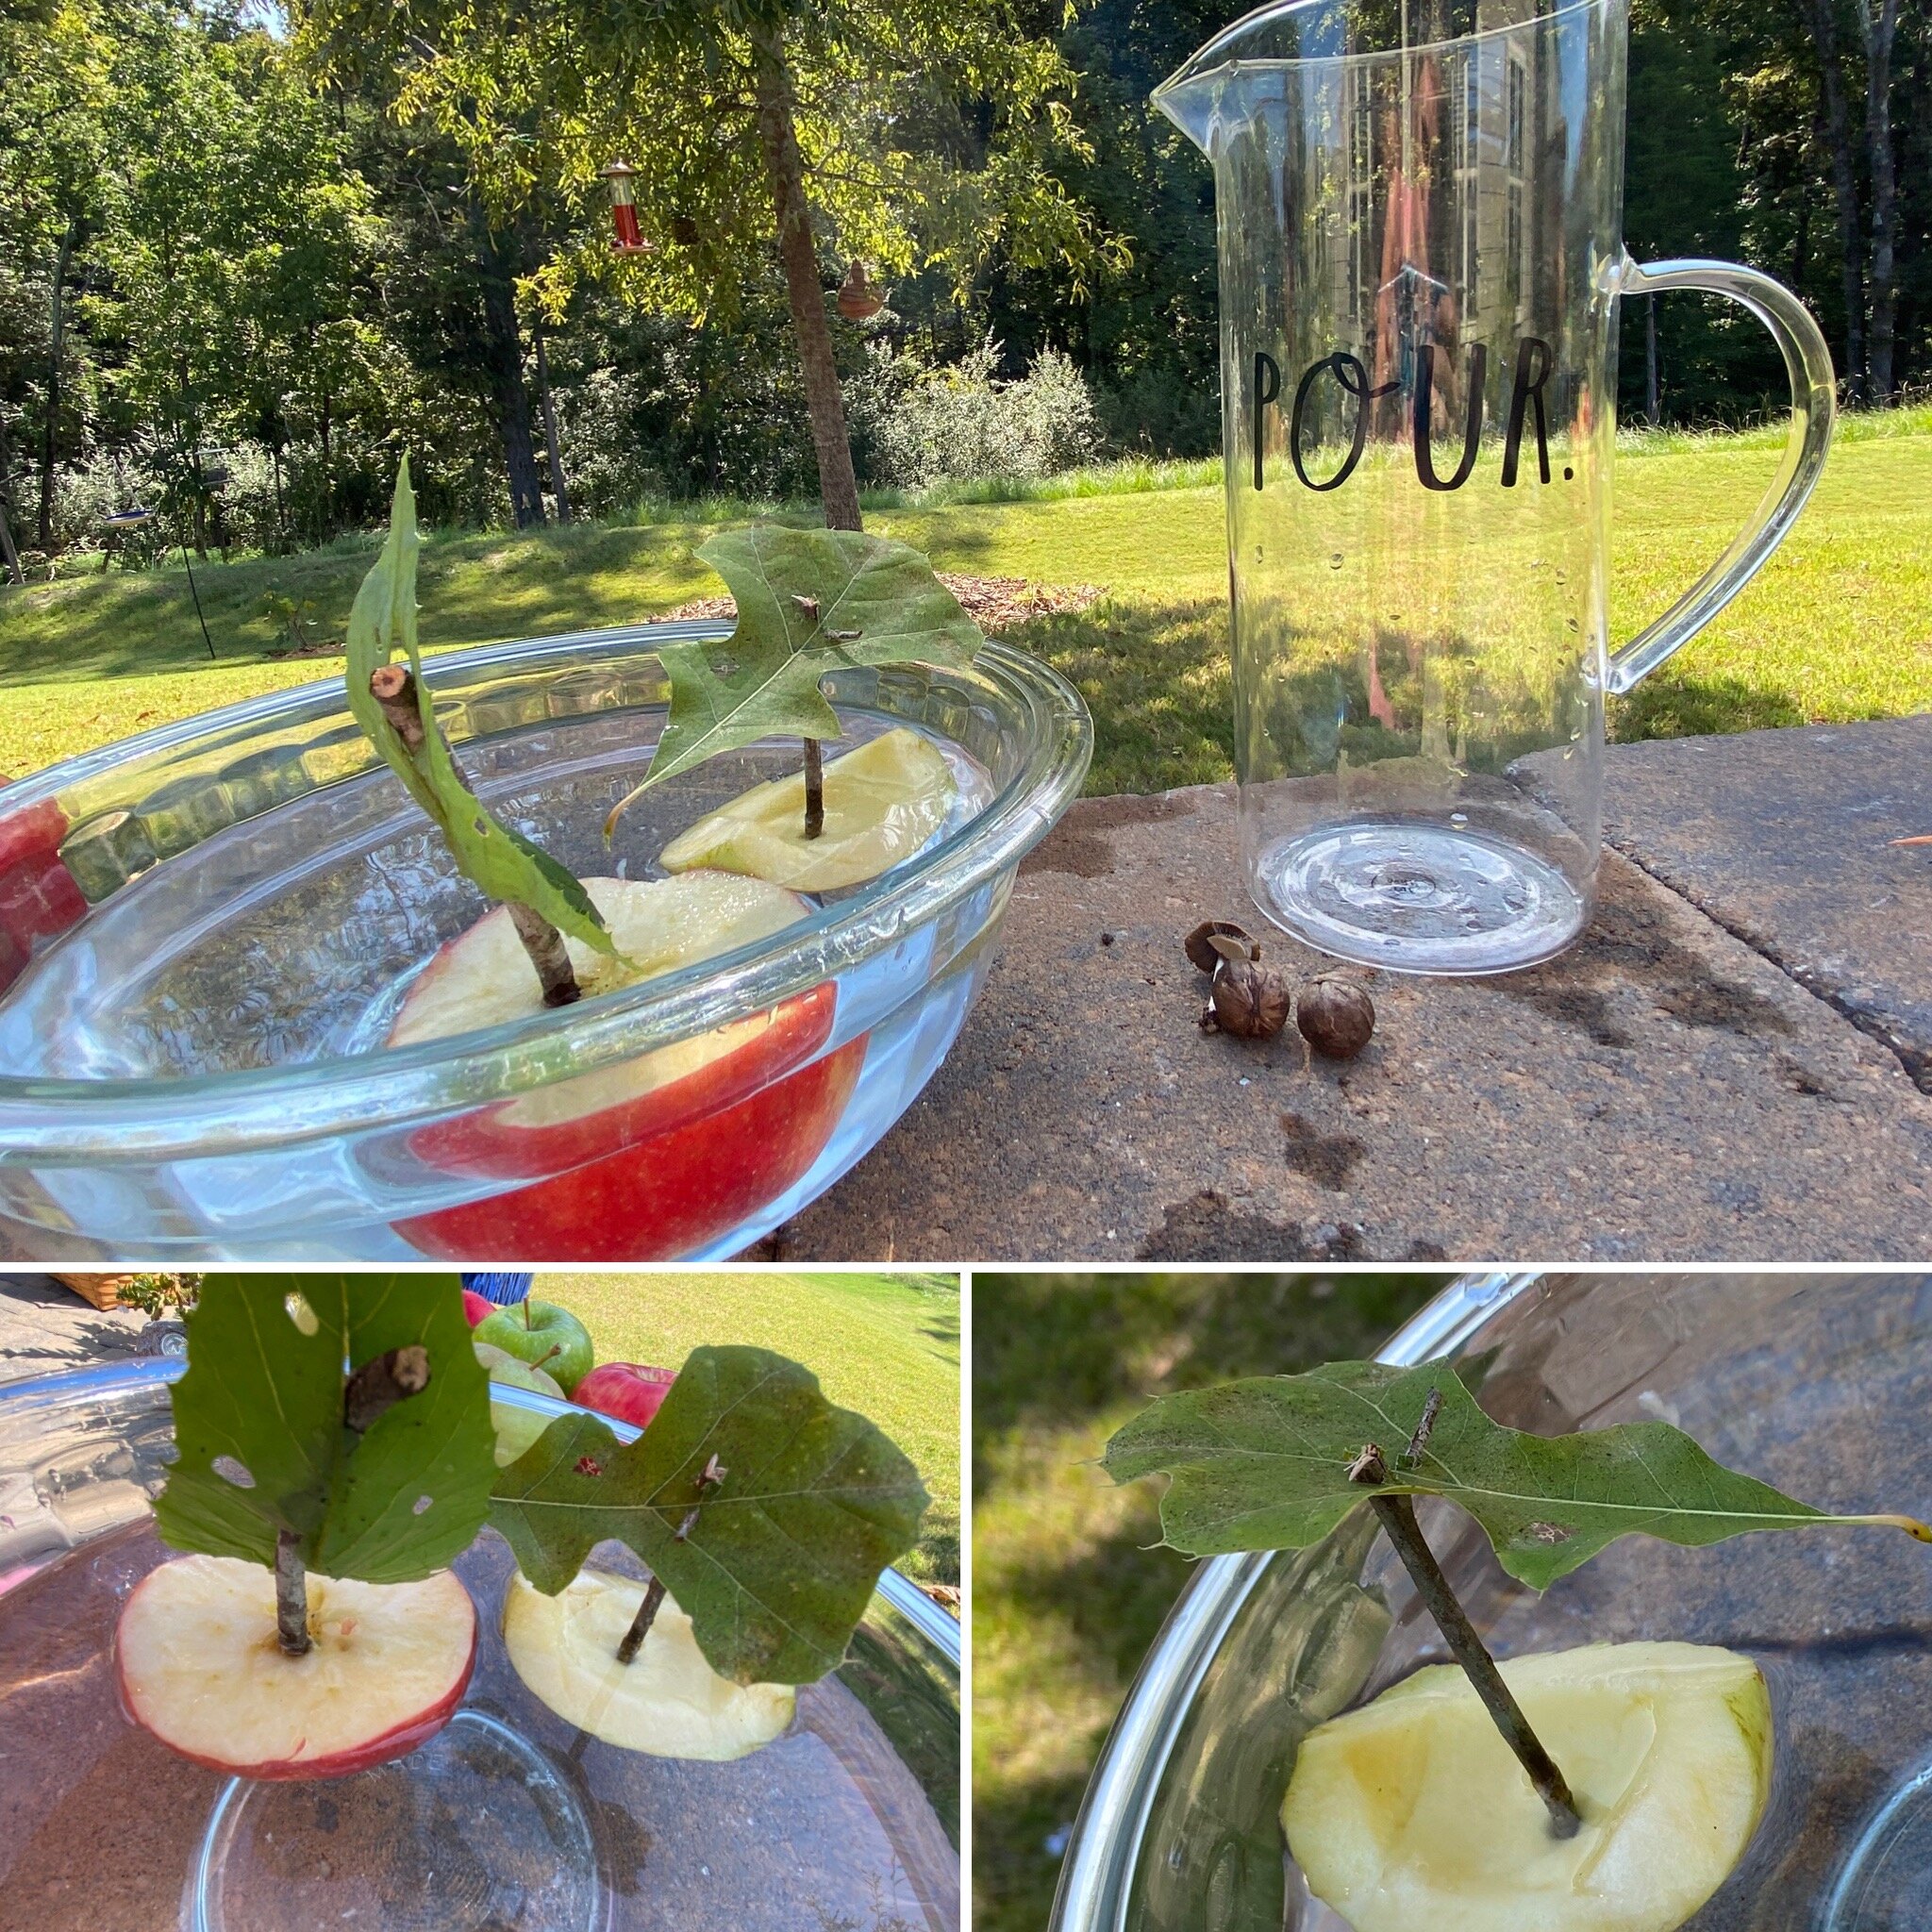
Experiment 2: How can I prevent my apple from turning brown?
What you will need:
apples
knife
assorted liquids (milk, lemon juice, lime juice, water, vinegar)
small cups/jars
tablespoon or spoon
labels for each cup
What to do-
Ask kids what they think will keep an apple from turning brown once it is cut (use those ideas in your experiment so children are invested in their learning!)
2. Have the group make predictions and record them (graph it as a group if you’d like!)
3. Do the experiment:
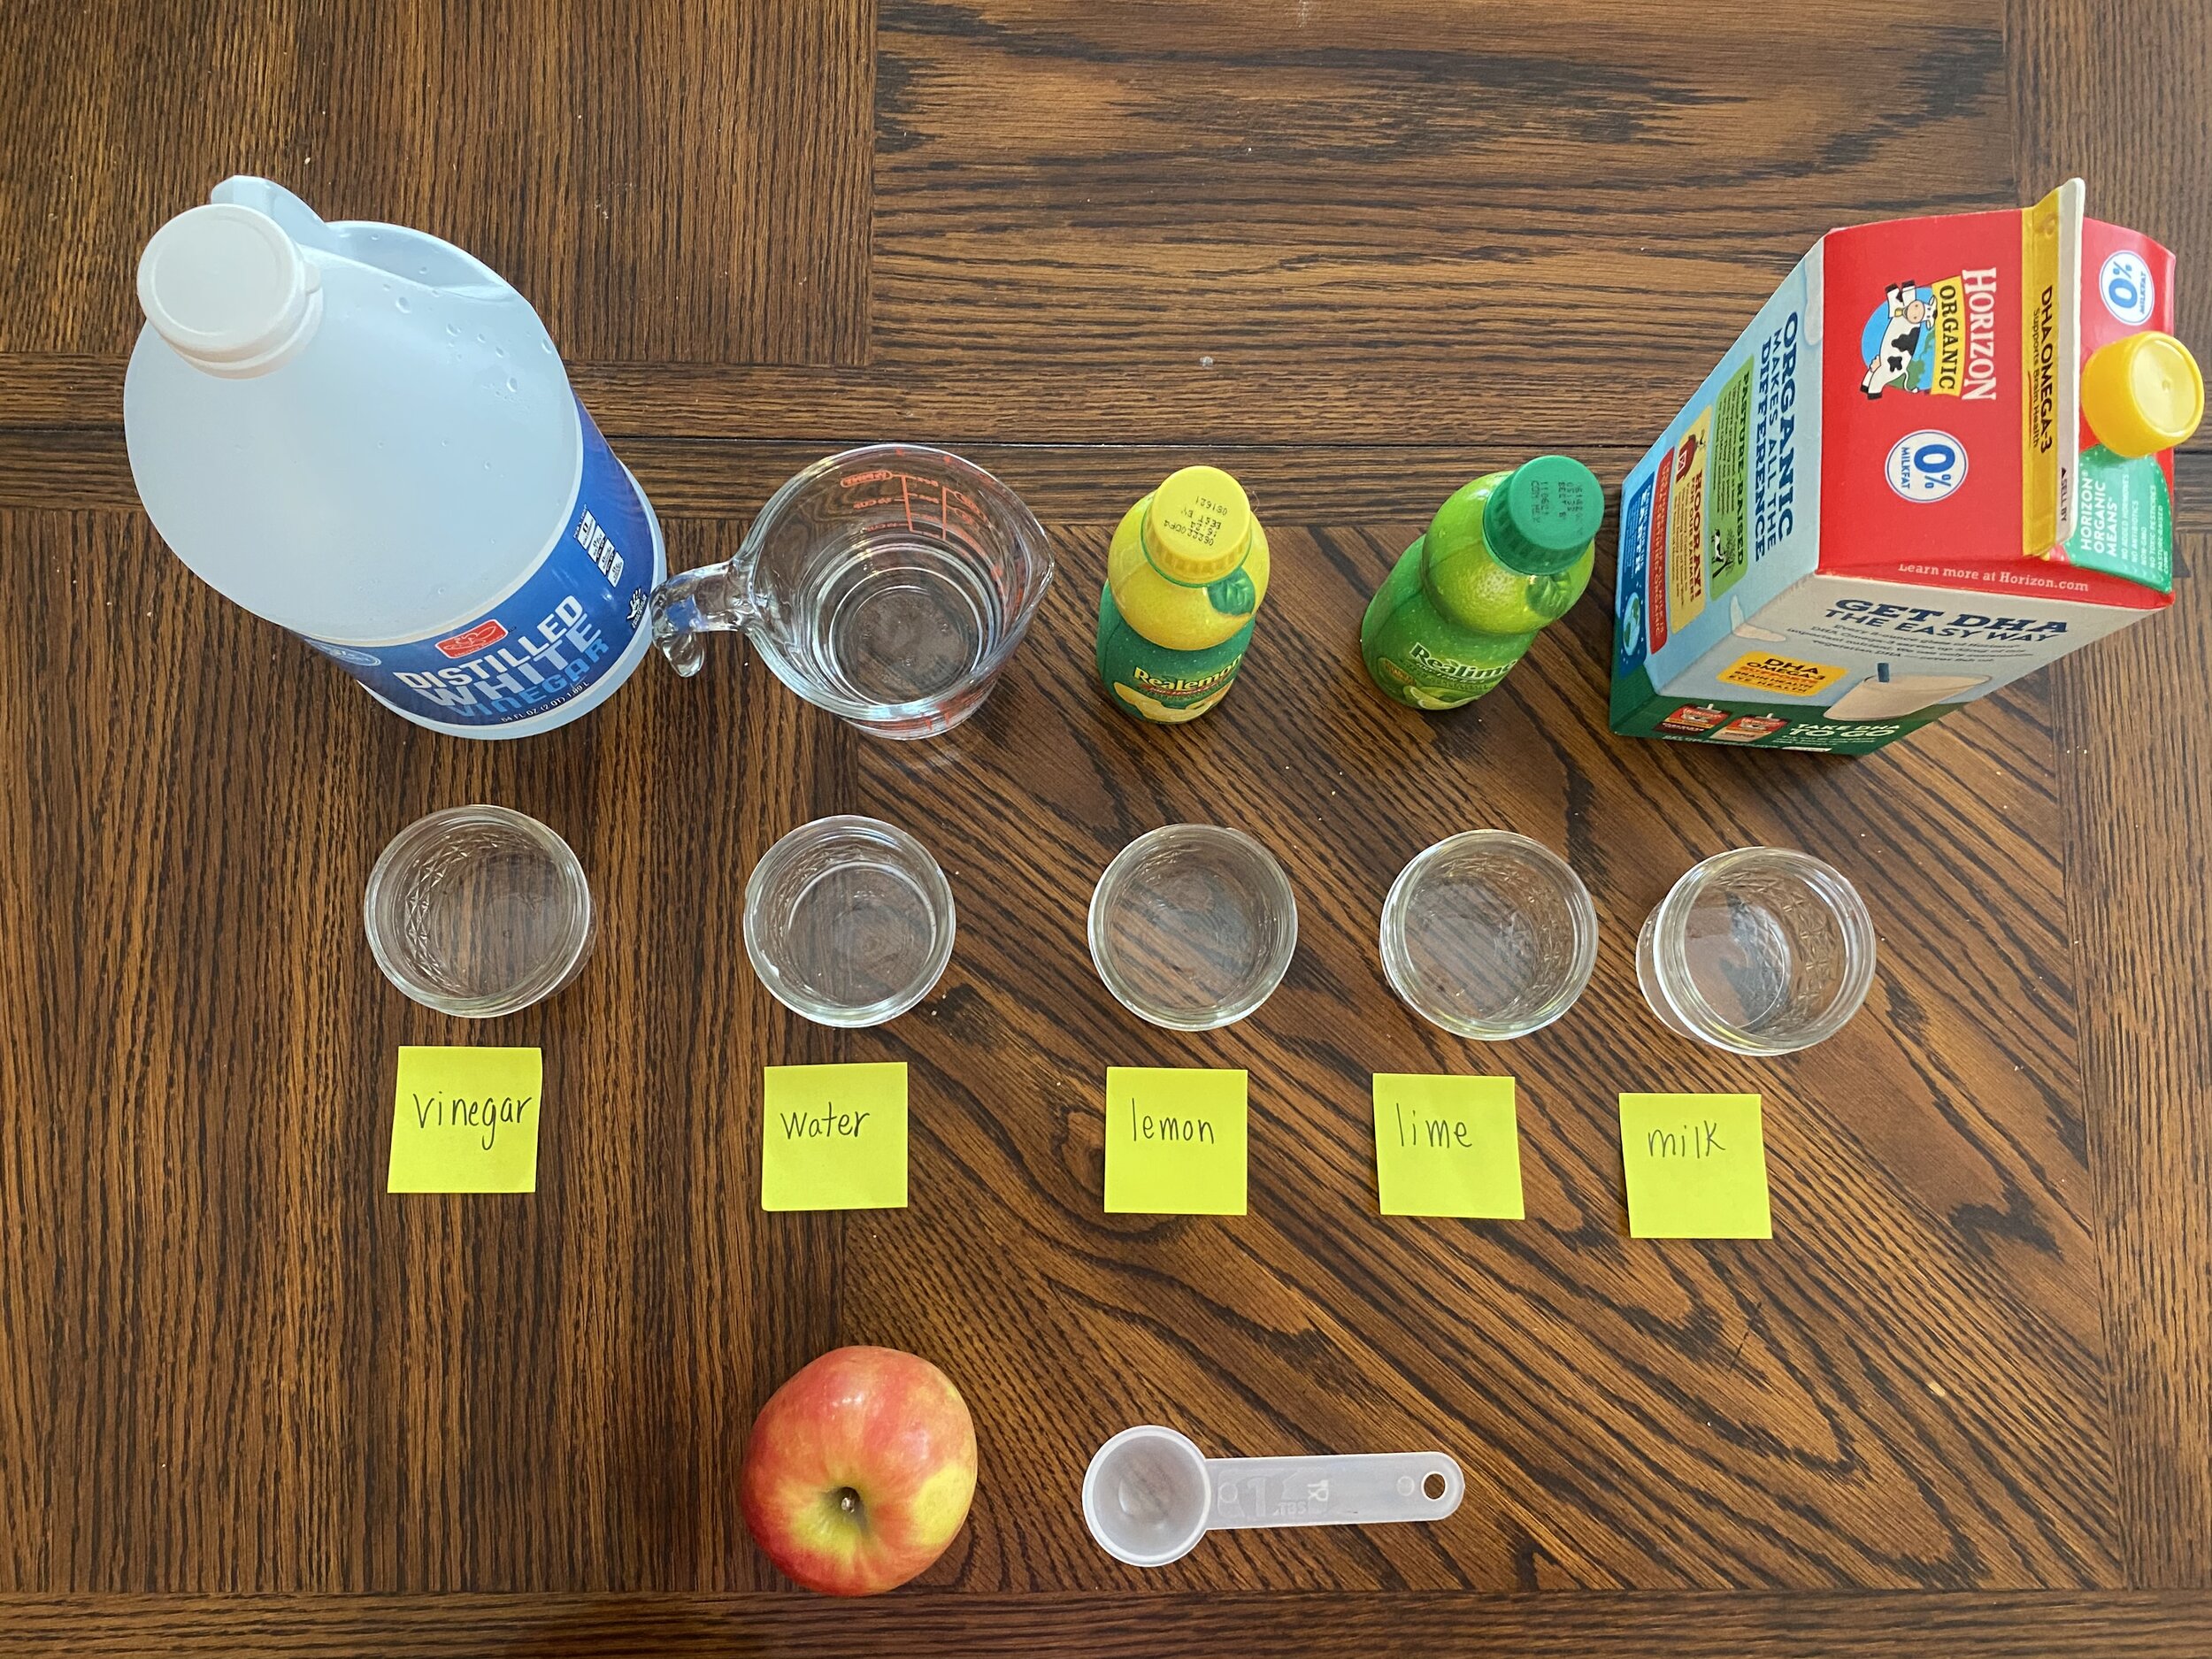
Cut an apple into equal slices
Place an apple slice in each cup
Add about 2 tablespoons of a different liquid to each cup
Label each cup with the name of the liquid
4. Wait 2 hours and then record your observations
5. Have children write their conclusions
